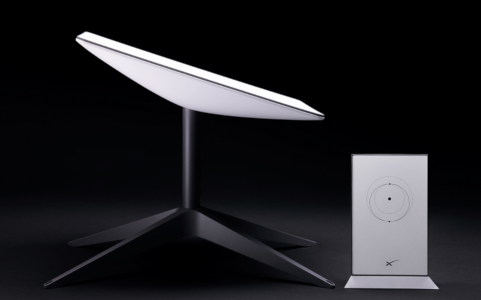
A lot of our folks are anticipating getting a Starlink Internet terminal in their remote village location in the next year or two. The “Dishy McFlatface” terminals and monthly fees are quite affordable, however Dishy requires a lot more power than a typical laptop computer, so powering it on solar will be a significant expense. Below are 3 reference designs for power systems capable of running your Starlink terminal different amounts of time each day. To keep costs down you’ll probably want to limit your Starlink Internet use to daylight hours and operate it less than 5 hours per day.
Design assumptions
- 45 Watts continuous are assumed to be needed for the newer rectangular Dishy. We have test data on a unit delivered in April 2022 showing 36W when idling and it can peak at about 70W briefly, but even when videoconferencing it stays under 45W on average.
- The only other loads on your power are a laptop (10W average) a cell phone and a small 3W LED light.
- Loads are powered through an inverter.
Inverter efficiency 87%
AGM battery efficiency 92%
LFP battery efficiency 97% - Only 3 days of autonomy (runtime without sunshine)
This is our standard rule of thumb and is a compromise to save money on batteries. In most locations this means you can expect several times a year to run out of power because you’ve had overcast weather for 3 days or more. You can compensate by running Dishy for fewer hours when it’s “that time of year.” Triple the battery bank size to eliminate (nearly) all such power shortages. - Size the solar panels based on the worst month of the year
During most other months you’ll have excess power to run Dishy longer or power other things. I used panels sized to nominally produce triple the daily load energy on an average day in the worst month of the year. This helps compensate for having minimal batteries. Solar panels are relatively cheap and long lasting. For these reference designs I used 3.5 mean sun hours, which is the July average for the middle of the island of New Britain, Papua New Guinea. You can look up month by month mean sun hours for any point on earth using our SILT tool. - These are not completed designs, but rough estimates so you can get a feel for the size and cost of a system to power your Dishy.
As always, we are available to provide tech support to members of SIL and partner organizations. You can contact us at power_systems@sil.org if you need help powering your Starlink system.
Reference Design #1 – Dishy 24×7 operation
This isn’t very realistic because if you really needed 24×7 Internet access you’d probably have a lot more equipment you’d need to run also. But this is what it would take for a Dishy and one laptop 24×7.
Estimated DIY System cost for parts – not including shipping:
$4200 with AGM batteries
$5800 with LFP batteries (Cost more up front, but less in the long run)
6300Wh needed from batteries either AGM or LFP
Allowing for 8% loss in AGM batteries and 50% max discharge we need about
12V 1140Ah rated capacity (=570Ah usable) For a system this size I would definitely recommend a 24V or 48V battery bank.
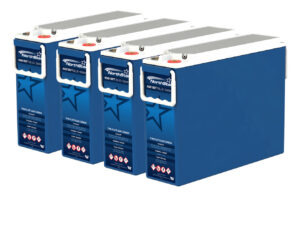
- 4 each 210Ah 12V Northstar NSB 210FT BLUE+ AGM batteries in a series arrangement for a 48V, 210Ah battery bank.
OR - LFP bank could be made with a single 48V Fortress Power eFlex 5.4kWh Battery.
Solar panels rated > 1200W total
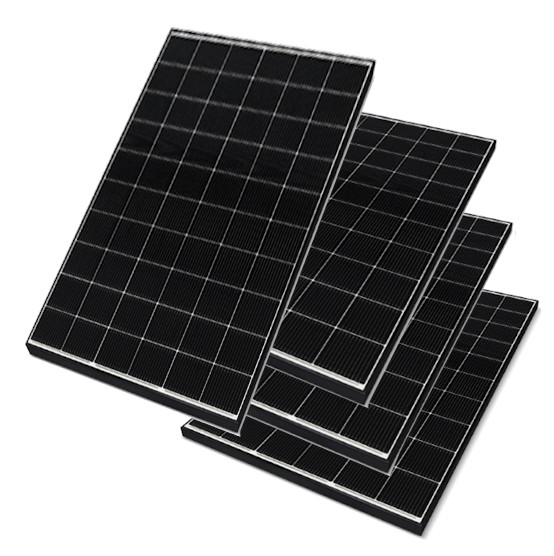
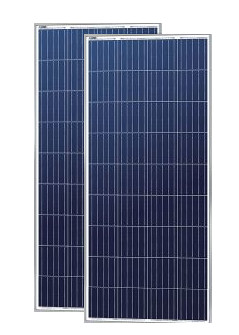
4 each Q Cells 340W panels in a series-parallel array are more than enough.
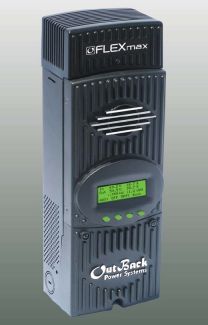
Outback Flexmax 60 charge controller to handle the ~28 Amps from the panels into the 48V batteries. The AUX terminals on the Flexmax charge controller can be programmed as a Low Voltage Disconnect (LVD), turning off the inverter at about 49v.
A 200W to 600W inverter
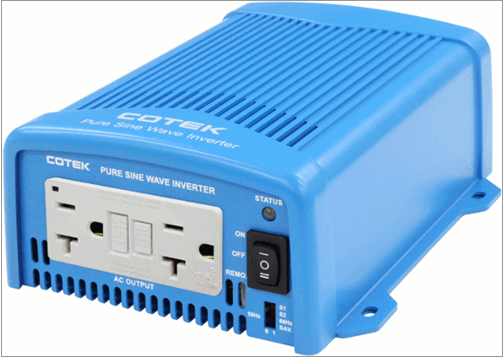
Larger inverters will be less efficient running only a ~100W load and should be avoided. However most inverters under 1000W have their built-in low voltage disconnect set way too low and it isn’t configurable. The 48V Cotek 400W pure sine wave inverter is about the right size and can be remotely controlled by the Outback Flexmax charge controller, or other voltage monitor, saving the cost of a separate LVD device. See our Low Voltage Disconnect page for information on why you need a LVD.
Reference Design #2 – 8AM to 10PM operation
This is a more realistic scenario. You want your Starlink Internet service running during your waking hours for all-day work or leisure use.
Estimated DIY system cost for parts not including shipping:
$2950 with AGM batteries
$3800 with LFP batteries (Cost more up front, but less in the long run)
3700Wh needed from batteries either AGM or LFP
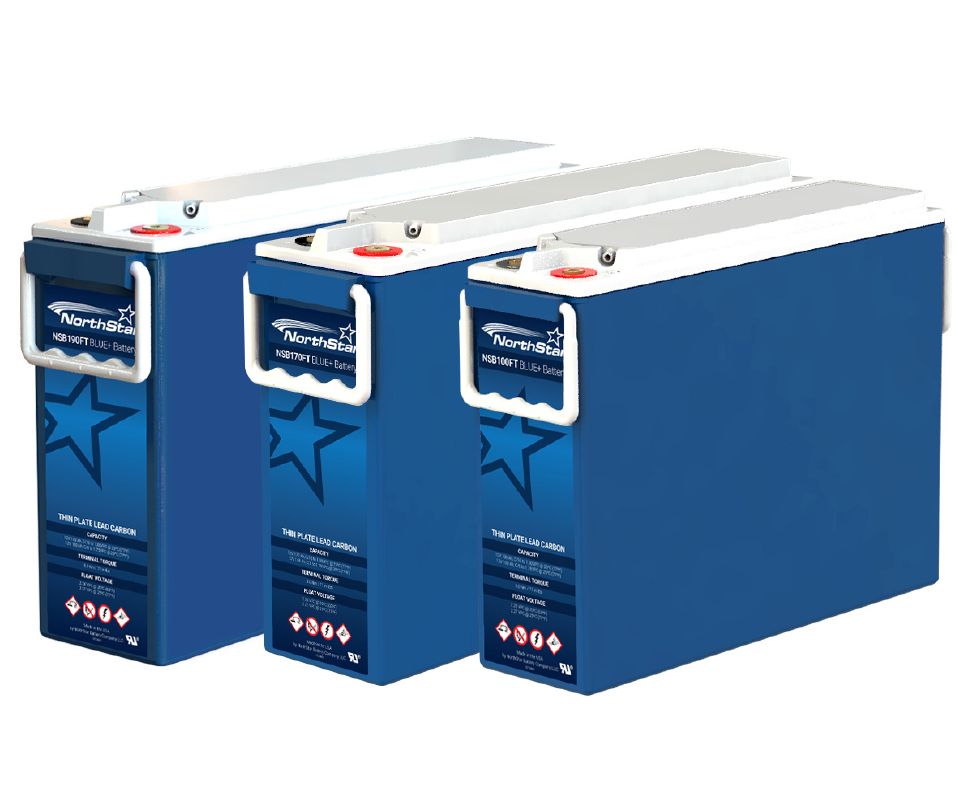
- AGM 12V >460Ah Three Northstar NSB 170FT BLUE+ batteries in parallel for a 12V bank
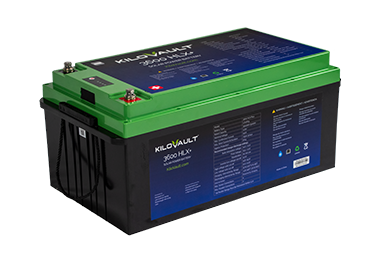
OR - LFP >3.1kWh One 12V KiloVault 3600 HLX+ battery
(Keeping the battery bank at 12V allows the use of my favorite inverter, the SureSine 300W from Morningstar, with a programmable LVD built-in.)
Solar panels rated > 680W total
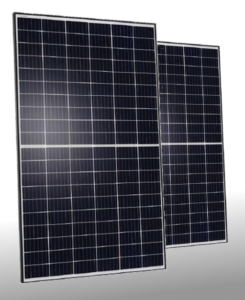
Two each Q Cells 340W solar panels in series
Outback FlexMax 60 charge controller to handle the ~60 Amps from the panels into the 12V batteries. (A 24V battery bank could use a cheaper 30A charge controller, but you would need to add a separate LVD to protect your batteries since the SureSine inverter doesn’t come in a 24V version.)
One 200-400W inverter
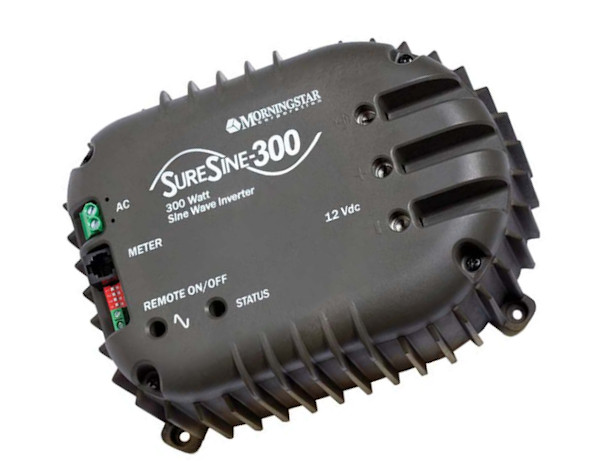
The 12V SureSine inverter is ideal due to it’s robust build quality and built-in adjustable LVD.
Simulation with Online Test Drive

You can see a simulation of how this system will perform using our online Test Drive tool here. The simulation has been setup for poor weather conditions that you might encounter during July on the Island of New Britain.
Reference Design #3 – Internet 5 hours/day
This is a smaller, more affordable system. This system will be enough to run Dishy for about 5 hours every day, plus a laptop all day long. One of our pre-built power systems, the Solar Power Hub, uses these components and can be purchased assembled with or without batteries included. Solar panels must be purchased separately.
Estimated DIY system cost for parts not including shipping:
$1400 with AGM batteries
$1900 with LFP batteries (Cost more up front, but less in the long run)
1040Wh needed from batteries either AGM or LFP

- AGM – Two no-name Chinese 100Ah 12V AGM deep cycle batteries in parallel (whatever you can find locally.) See our battery article for tips on buying locally available batteries
OR - Better AGM – One 190Ah Northstar NSB 190FT 12V battery
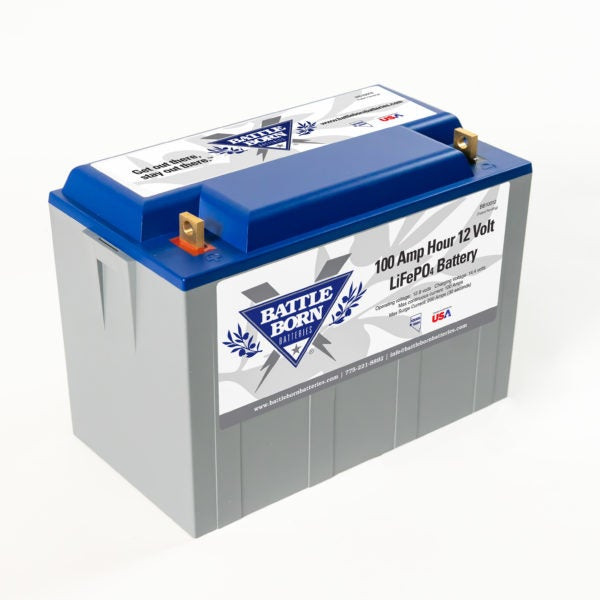
OR - Best LFP – Battle Born 100Ah 12V LFP battery (cheapest in the long run)
Solar Panels rated > 300W
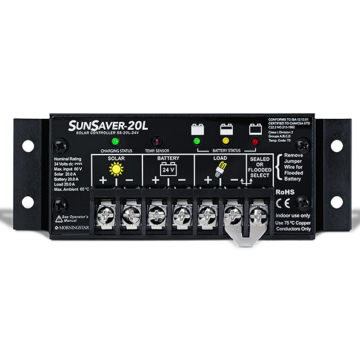
For a charge controller the Solar Power Hub uses a Morningstar SunSaver 20 PWM charge controller. It can handle about 340W of 12V solar panels.
The SunSaver charge controller is not MPPT, so you need “12V” solar panels which have an open circuit voltage (Voc) of about 22v. Two Solarland 160W panels in parallel provide a rated power of 320W.
If you’re building your own system, a more expensive and flexible alternate charge controller is the Victron Energy SmartSolar MPPT 100/30. It might even pay for it’s higher cost by allowing the use of cheaper 24V solar panels. If you want a little bit bigger system this will handle more panel power; well over 440W. And it can be programed to more precisely charge LFP batteries.
200-400W inverter

The 12V SureSine inverter is ideal due to it’s robust build quality and built-in adjustable LVD. It will only work with 12v battery banks.
Simulation with Online Test Drive
You can see a simulation of this system running in New Britain during a particularly bad week in July here.