 GTIS Power and Communications Systems
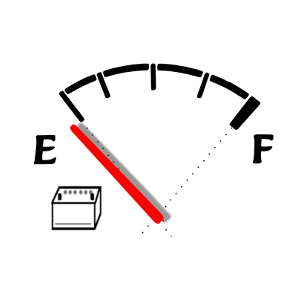 The low voltage disconnect protects your batteries from being ruined by discharging too low.
Important Concepts:
The Charge Controller protects your batteries against overcharging (too high a voltage). The Low Voltage Disconnect LVD protects against over-discharging (too low a voltage). Either will ruin your batteries very quickly, so you need both.
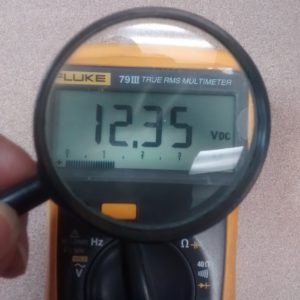
- Lead-acid batteries are most cost-effective if you never use more than 1/3 of their rated capacity (for example, 67% SoC = 33% DoD). This corresponds to a resting voltage of about 12.35 V, but the LVD set point will be lower than this because the battery voltage “bounces back” a bit after you remove the loads.
- Many people recommend a maximum DoD of 50%, which corresponds to a resting voltage of about 12.2 V. This will be slightly more expensive in the long run, but is sometimes more practical.
- Sometimes a LVD is integrated into small charge controllers, but typically it is not configurable and can’t handle high loads and is set too low. The Xantrex C12 is a notable exception to this rule, it’s LVD is fully configurable and useful.
- All inverters have some sort of LVD built-in to protect the inverter from running on too low a voltage, but often the voltage is not settable, or the voltage range is too low to properly protect your batteries.
- Because of the above, a separate LVD circuit is often necessary if you want to minimize your battery costs.
Picking a LVD
The LVD connects in between the battery and the loads and automatically disconnects the loads when it detects a low battery voltage. It needs to be rated for both the nominal voltage of your battery bank and the maximum current your loads can draw.
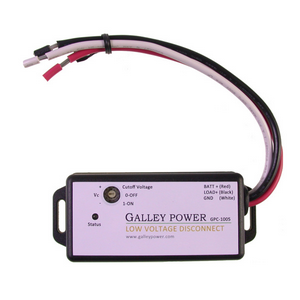
For small 12 V systems we stock several transistorized LVD devices, which can handle from 10 A to 50 A. Galley Power makes some very good LVDs which auto detect between 12V and 24V and can handle up to 30A. They have 8 user selectable cutoff voltage settings, but most are too low. I recommend you get the custom programmed version and give yourself more options between 11.4V and 12.2V.
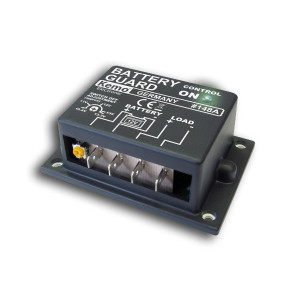
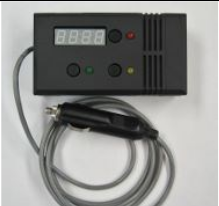 For higher amperages or voltages, usually a relay is used in conjunction with an electronic voltage monitor like the one we sell made by OffGrid Tech. The relay will always draw some current while it’s on, wasting a little energy, so this isn’t preferred for smaller systems.
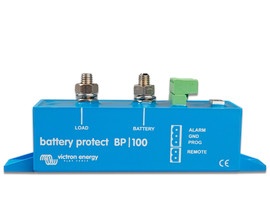 Victron Energy makes some cost effective electronic low voltage disconnects which they call “BatteryProtect.” They have three models that will work on both 12v and 24V systems and can handle respectively 60A, 100A or 220A, and they also have a 48V, 100A unit. The wasted energy of these LVDs is very low and the “Smart” versions have Bluetooth built in so you can control and monitor them from an app on your smartphone. These are one-way devices, so your charge controller has to have separate cabling directly to your battery, bypassing the “BatteryProtect.”
How many Amps do I need?
The LVD or relay will have a maximum peak amperage and maximum continuous amperage rating, but your loads are specified in watts.

Calculate the peak and continuous amperages of your system by dividing the peak and expected continuous loads in watts by the battery voltage to get amps. Add about 20% to the calculated amperage to allow for inefficiencies in the inverter and make sure your relay can handle it.
Sometimes the inverter’s built-in LVD is good enough
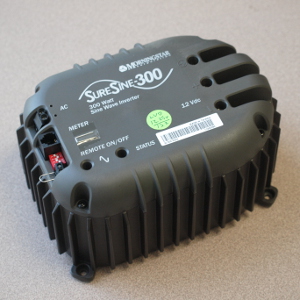 Some inverters have a user configurable LVD built in. Usually this is only on more expensive inverters rated over 1000W. If all your loads will be using AC from the inverter (no dc loads) you can use the built-in LVD if you can set it to an appropriate voltage. The SureSine 300W inverter we sell has this feature, which we use in our “Power-Hub” pre-built systems, but you can also buy the SureSine inverter alone and we will configure it for you. It requires special software and hardware to set the LVD. The Outback Inverters we recommend also have an adjustable LVD circuit built in, settable using the Outback “Mate” interface device. In some cases the inverter’s LVD can’t be set high enough (like if you’re using LFP batteries which need a higher LVD voltage). If this is the case, sometimes the inverters have connections for an external on-off switch which can be connected to a relay on a voltage monitor such as the Victron Energy BMV-700 Battery Monitor or the OffGrid Tech monitor we sell.
Setting the correct disconnect voltage
Our target resting voltage is 12.35 V. Resting voltage is the voltage the battery settles into after several hours with no load and no charging. The measured voltage at the battery terminals while supplying current to loads will be lower, but hard to predict accurately. Higher amperages cause more of a voltage sag, so if your loads are not always the same, your system won’t always cut off at exactly the same charge level. You’ll just have to live with that. The voltage drop while in use is further amplified by resistance in the wires in between the LVD sensor and the battery. For this reason, it’s best to have the LVD very close to the battery, and use over-sized cables between the LVD and the battery. This will get you more consistent results when the loads are variable.
So the only way to get it “right” is to set your system up and test it. A good starting guess for the LVD voltage is 12.0 V. (If you’ve got a 24-V or 48-V system use 24.0V or 48.0V.)
 Set the LVD for this, disconnect the solar panels or charging circuit and run you system with all the normal loads connected until the battery discharges and the LVD shuts off the loads.
- Wait 2 hours with no charging or discharging and then measure the battery voltage.
- If your measured voltage is now too high compared to your target of 12.35 V, bump the LVD down by the difference. Likewise, adjust it up if that is necessary.
- Hook up the solar panels and recharge the batteries. (optionally redo steps 1 to 3 to verify you got it right.)